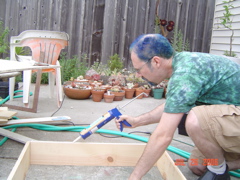
Apply construction adhesive to the smooth side of all the shower sides. You have about 10 minutes to coat all the sides that need coating. |
Keep the glue gun moving to avoid big lumps of glue. |
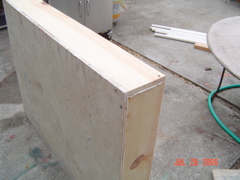
Also coat the ends of the short sides (e.g. not the full-length sides). |
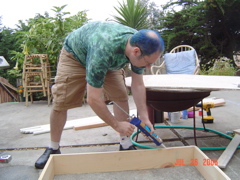
After aligning the base with the glued side boards, put the base on the glued side boards and make sure the corners are square (e.g. no gaps). Drive screws no closer than 2" to the ends of the side boards, or they may split. |
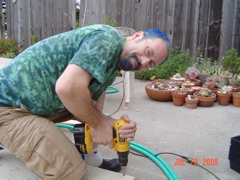
Use your knee to balance yourself and keep the shower base from lifting up while you are trying to screw it down. |
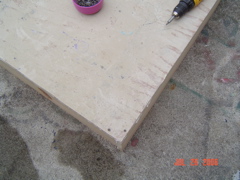
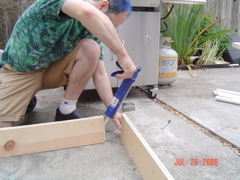
Proper placement of screws in the corner. |
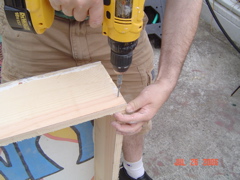
After screwing the corners from the back, screw the sides together. Don't worry if it splits a little -- the construction adhesive will ultimately be what makes it strong -- not the screws. |
You can see this one split a little. |
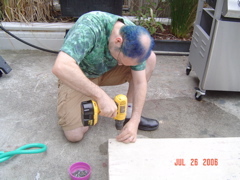
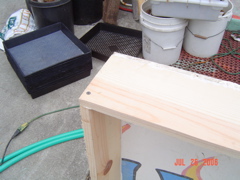
When the screws pull the parts together it will squish out some glue. |
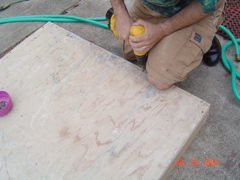
Once the sides are screwed then place screws about 1 foot apart along the base between the corners. |
main | Page 1 | Page 2 | Page 3 | Page 4 | Page 5 | Page 6 | Page 7 | Page 8