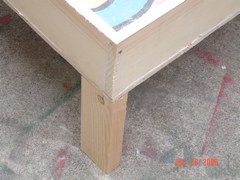
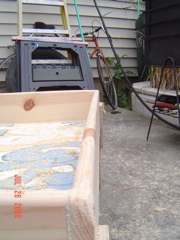
The legs will be attached in the corners. They'll support the weight by being under the shower base. Notice that the excess glue has been scraped off from where is squeezed out. |
Take some scrap plywood and cut pieces about 10" long and 3" or 4" wide. Here I have two pieces of plywood on top of each other and I cut both at the same time. |
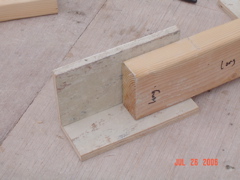
You'll put two pieces of plywood next to each other and overlap at least 4" of each leg. |
The plywood won't split, but the 2x4 will. So, don't align any screws with the grain. Stagger them. And no closer than 1" from the end of the 2x4. |
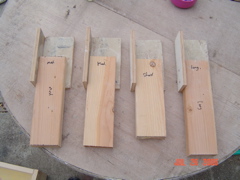
Make 1 leg that is 14", two that are about 13" and one that is about 12". You can adjust the short one so that it sits "flat" when all of them are placed under the corners. |
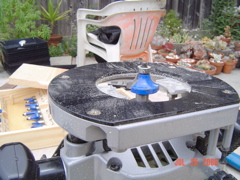
This is a router with a 3/8" roundover bit. As an optional fine touch, you can round over the sides of the shower. |
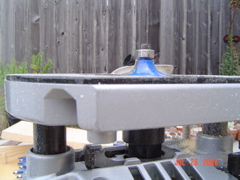
Here is a side view. See how the blade will cut a round profile on the edge of the wood? |
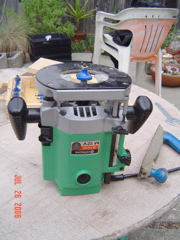
This is a router. |
This is the rounded edge that it forms. I had to file the very corners. You could also take the edge down with a file, or a plane, or even a sanding block. You just don't want sharp edges where bare feet may step by accident. |
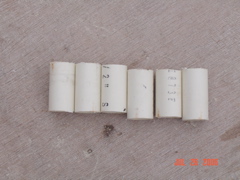
If you are making the 3-way corners the way I did, you'll need six 1.5"" sections of 1/2" PVC. After cutting them, make sure no extra plastic is hanging off the ends. Sand the ends if needed to remove any extra plastic that might interfere with a smooth fit. |
main | Page 1 | Page 2 | Page 3 | Page 4 | Page 5 | Page 6 | Page 7 | Page 8