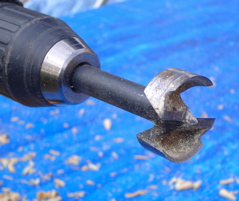
Forstner Bit
This is a fortner bit. I used a 1.25" forstner bit for making the handle holes. You need to use a slower speed with your drill (if possible) when using a bit like this.
Drilling Handhold Holes
I placed one hole centered 10" from each end, and 1.75" in from the edge. The other hole in each pair of holes was 3.5" from the first hole. I measured and marked the centers.
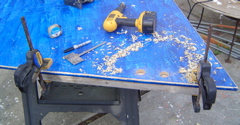
Then I clamped a 2x4 underneath the plywood so that the forstner bit would have something to drill into when it finished going through the plywood. This prevents "tearout" on the underside of the plywood. Without using a piece of wood under the plywood, the drilling process will destroy the wood on the underside -- you'd be very unhappy with the results, and it may leave hazardous splintered wood.
Prepare to cut Handholds
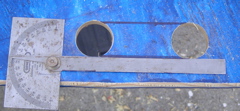
Once the two holes are cut, draw a line tangent to the top of each hole, and another line tangent to the bottom of each hole, as shown.
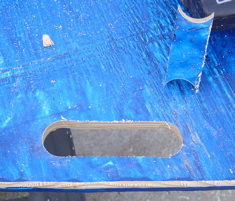
Handhold has been cut
Here you can see that the handle hole has been cut out. You can see the scrap wood that was cut out from the handle hole.
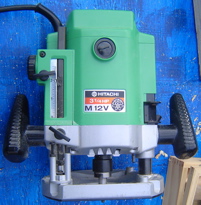
Router
This is a router -- a very useful woodworking tool. It spins special bits very fast to cut a shape into the edge of wood.
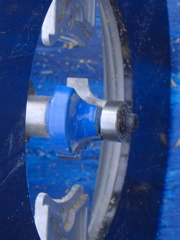
Roundover Bit
This is a roundover bit for the router. This one is a 1/4" roundover bit -- it cuts a curve approximately 1/4" in radius into the edge. I used 5/8" plywood, so this curve will not remove too much wood.
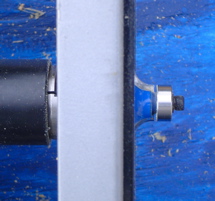
Proper Alignment of Roundover Bit
The roundover bit must be set at the proper "depth" so that it doesn't affect the top surface, but still cuts a curve into the edge of the wood. If it isn't deep enough, it won't cut a full curve, or perhaps even it won't cut the edge at all. If it is too deep, it will cut the surface. This picture shows the proper alignment.
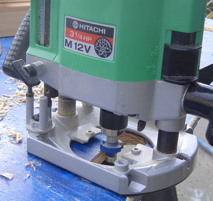
Routing the handholds
This shows the router in action. You must move the router so that the cutting edge of the bit moves against the wood against the direction of motion of the router itself. So, if the bit rotates clockwise (as seen from the top) then move the router around the inside of the hole in a counter-clockwise direction.
Finished Handholds
Here you can see all the handholds have been cut. I also used the router to round over the top edges of the deck perimiter. Not only does this make the top edge of the deck more comfortable in case one touches the edges, it also makes it easy to know which end goes up and which faces down. In addition, routed edges are more durable. An unrouted edge is more vulnerable to being damaged than a routed edge, so the deck will last longer.